- Empty cart.
- Continue Shopping

Teaching Students to Use Master Lock Locker Locks: A First-Week Practice Plan
- Posted on
marketang
- Categories: Locks for School Lockers
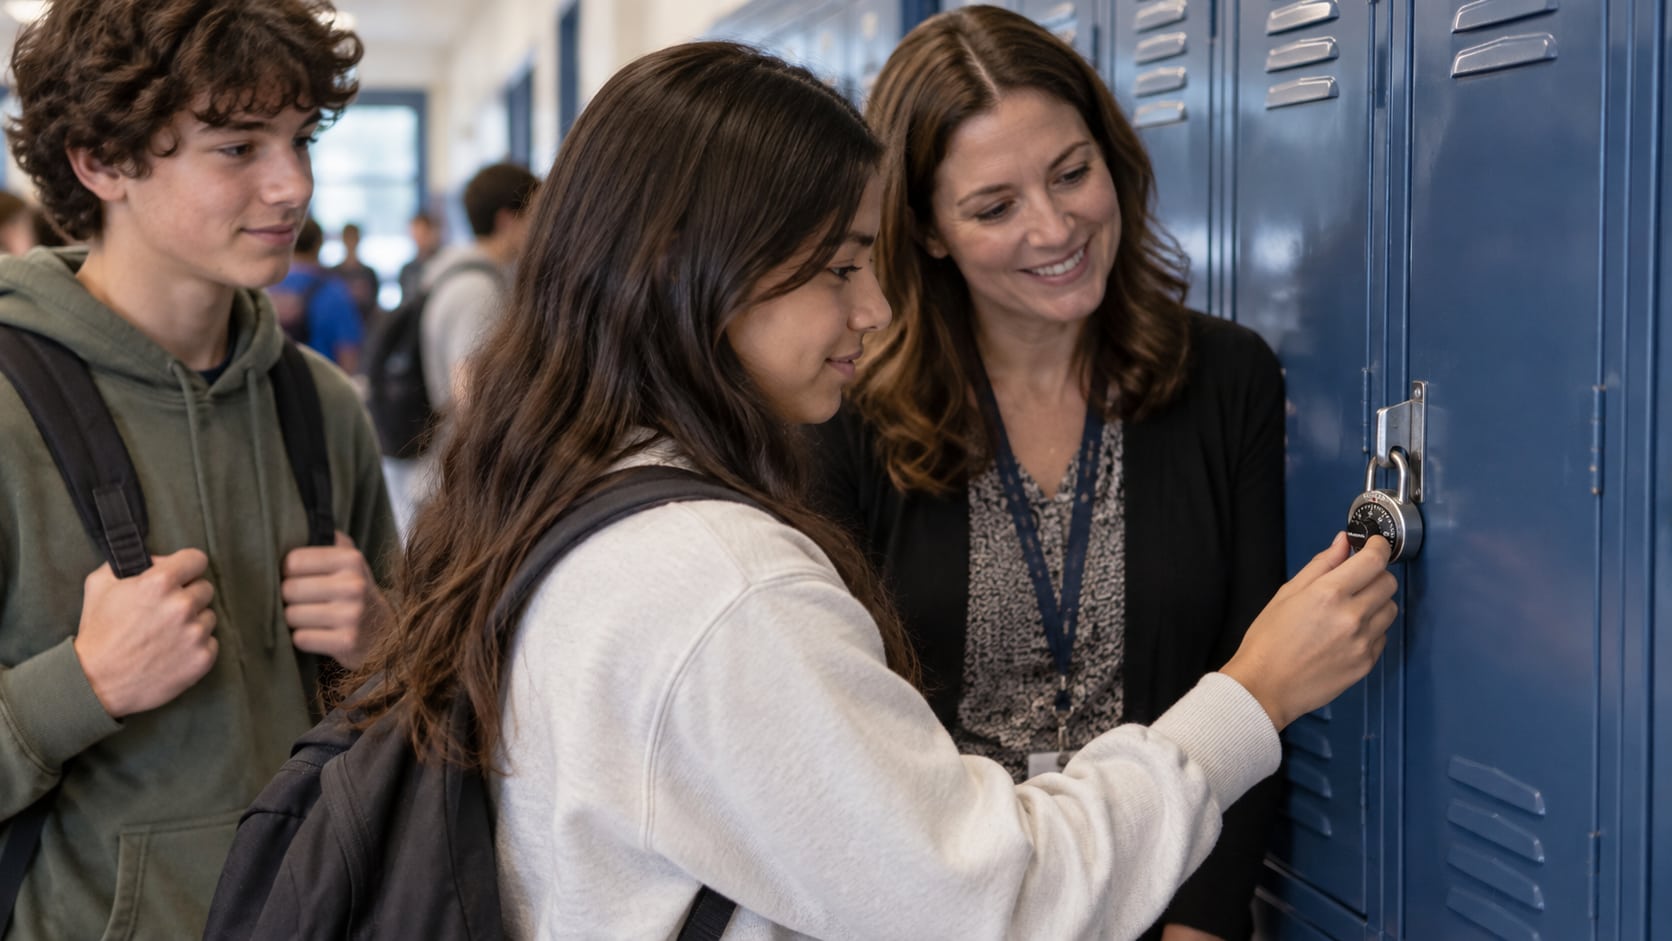
Short answer: a practical locker-lock lesson starts by identifying the exact model, showing the matching official instruction, demonstrating the complete open-and-relock sequence, and providing supervised practice before hallways become busy. Teach combination privacy and a calm help process at the same time. A portable 1502, key-controlled 1525, and built-in 1630 or 1652 should not be presented as if every detail is identical.
A Practical First-Week Locker-Lock Plan
| Stage | School action | Student outcome |
|---|---|---|
| Identify | Match the locker bank to its exact lock model | Receives the correct instruction |
| Show | Use the official model-specific video and a live demonstration | Sees the full sequence once |
| Practice | Allow short, supervised attempts with an empty locker | Builds the motion without time pressure |
| Protect | Teach privacy and relocking habits | Knows what information not to share |
| Support | Offer a private help route and staff escalation | Knows what to do if the lock will not open |
1. Identify the Lock Model Before Instruction
Master Lock publishes a student-training video index with supported model groups for several locker-lock families, including portable combination locks such as the 1502 and 1525, plus built-in models such as the 1630, 1652, and 1690. Assign the applicable video to each locker area. Master Lock groups the 1500, 1502, and 1525 in one video, and the 1652 and 1654 in another; a shared video is appropriate when it explicitly covers the installed models.
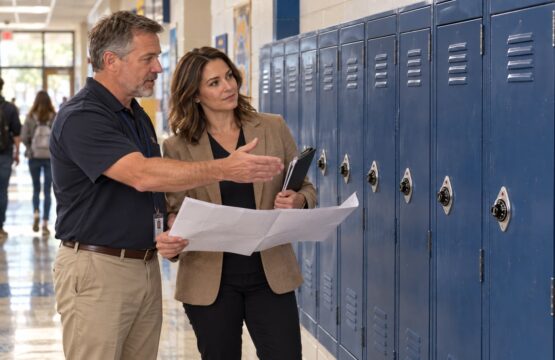
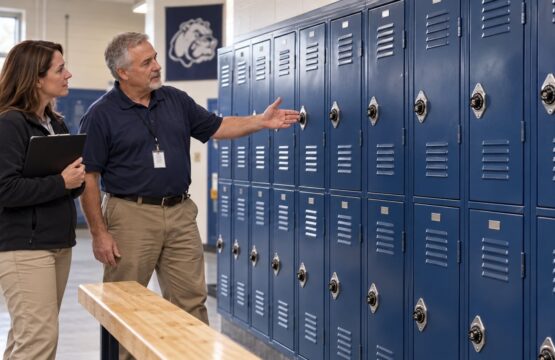
A mixed building may need more than one training station. Label staff materials by building, locker bank, and model. Do not place working combinations in a presentation, public handout, or hallway sign.
2. Demonstrate the Whole Routine, Not Just the Dial
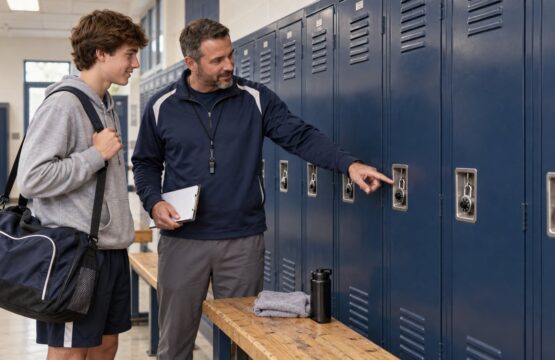
Show students how to begin a fresh attempt, follow the manufacturer’s directional sequence for that model, open the locker without forcing the handle, close the door, and confirm it has relocked. Use a demonstration lock or an unassigned empty locker so no student credential is exposed.
Keep the first demonstration slow and quiet. Then repeat it once at normal speed. The purpose is not to memorize a teacher’s hand movements; it is to understand the sequence and recognize when an attempt should be restarted.
3. Give Students Low-Pressure Practice
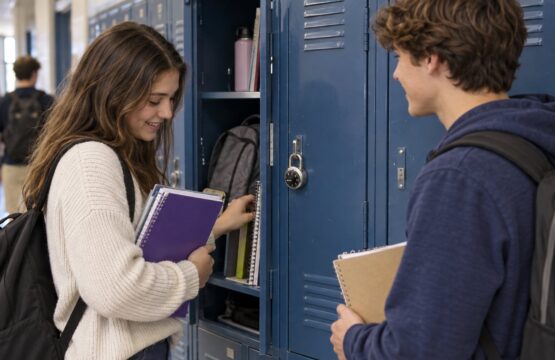
Schedule several brief attempts before passing periods. Pair practice with an empty locker and a staff member who can watch the process without asking the student to announce the combination. If a student struggles, correct one part of the routine at a time and let the student try again.
Some students may need a printed directional cue, additional practice, an alternative assigned device, or support through the school’s accessibility process. Use the lock model and the student’s documented needs to guide the decision; do not promise that a product label alone makes the full locker installation accessible.
4. Teach Privacy and Relocking as Core Skills
A locker lesson should include what not to do. Students should not share combinations, photograph combination cards, write a combination on the locker, or leave the dial resting on the last number. They should close the door, scramble or turn the dial as the model requires, and pull or test the handle gently to confirm the locker is secured.
Provide a private way to report a forgotten combination. Staff should verify the student’s assignment through the authorized record system rather than asking classmates or displaying a master list.
5. Separate User Error From a Hardware Problem
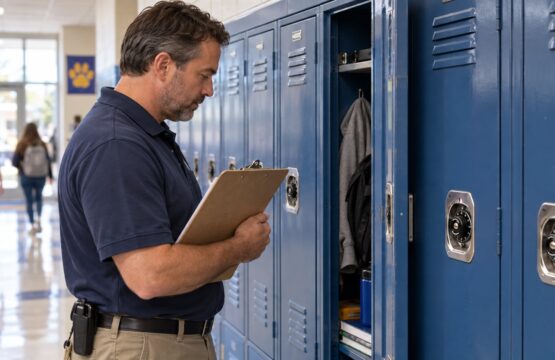
If multiple careful attempts fail, move the student out of the hallway rush and have authorized staff use a documented triage process. Check the assignment, model, door alignment, latch movement, and visible condition without forcing the hardware. The locker lock will not open staff guide helps schools structure that response.
A student should never be asked to solve a binding door or damaged mechanism through extra force. Record recurring problems by locker number so facilities staff can identify a pattern.
Frequently Asked Questions
Should every student watch the same locker-lock video?
Use the same video when Master Lock lists it for every model in that group; otherwise use the matching video. Some videos cover multiple models, including the 1500/1502/1525 group and the 1652/1654 group.
How long should students practice?
Use several short, supervised attempts rather than one rushed session. Continue until the student can open, close, and relock the assigned locker calmly.
Should students say their combinations aloud during training?
No. Staff can observe dial movement without having the student announce or publicly display a credential.
What if a student still cannot operate the lock?
Offer private coaching, verify the hardware, and use the school’s established accessibility and accommodation process when relevant.
What if the lock opens but the door still sticks?
Treat that as a possible locker or latch issue. Do not tell the student to force it; have authorized staff inspect alignment and hardware.
Build a Consistent Start-of-School Routine
For help matching lock models to a school locker program or planning replacement hardware, contact School Lock Supply with the building, locker style, current model, quantity, and non-sensitive photos.